
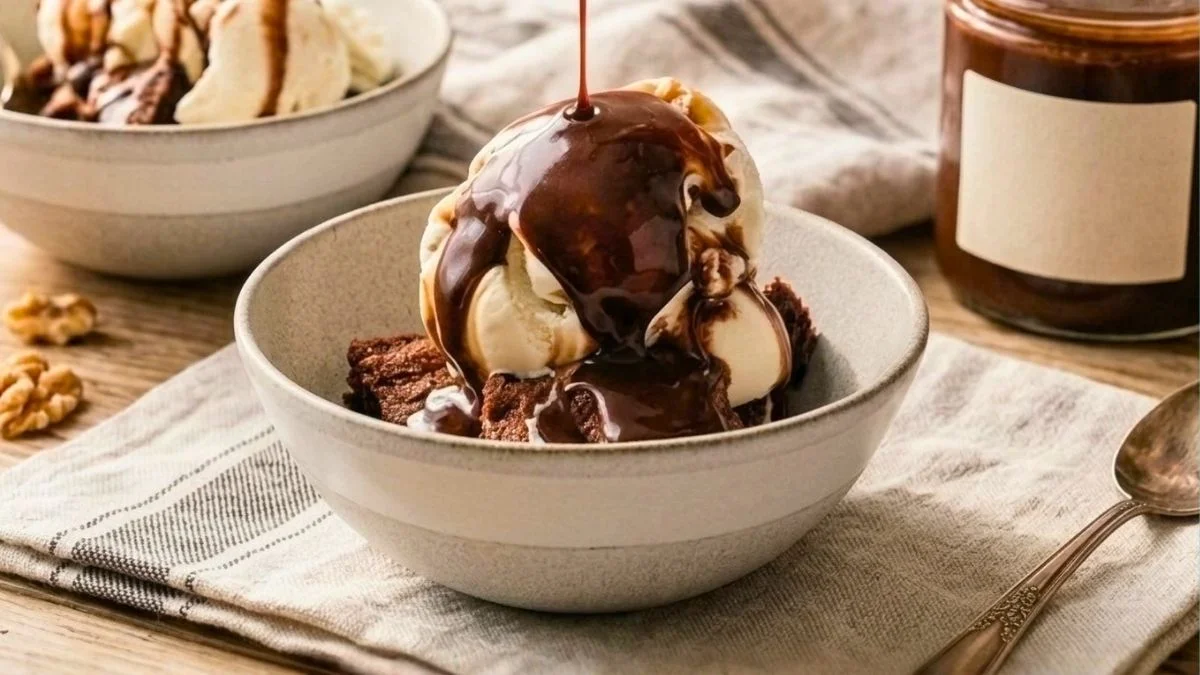
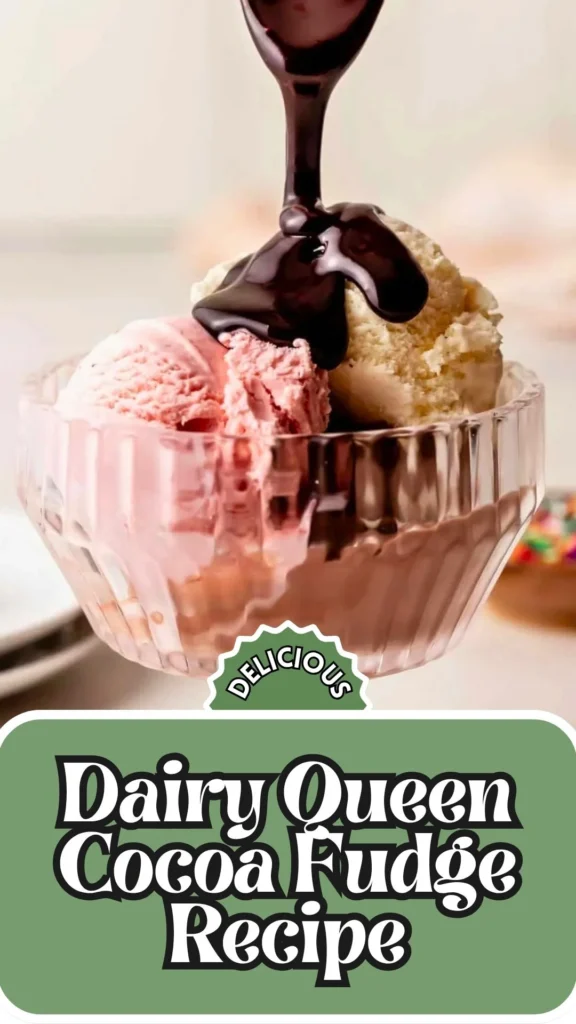
I’ll be honest – the first time I tasted Dairy Queen’s Cocoa Fudge drizzled over a hot fudge sundae, I knew I had to figure out how to make it at home. That rich, glossy, deeply chocolatey fudge sauce with its perfectly smooth texture and just-right sweetness?
It stayed on my mind for days. So I got to work. I visited DQ multiple times, studying the flavor, the consistency, how it behaved over cold ice cream, and that signature melt-in-your-mouth finish.
After countless batches, ingredient tweaks, and honest feedback from family and friends in blind taste comparisons, I finally nailed it. This copycat Dairy Queen cocoa fudge recipe is as close to the real thing as it gets – made right in your own kitchen.
What Does Dairy Queen Cocoa Fudge Taste Like?
Having tasted the real thing more times than I can count, this cocoa fudge dairy queen version is unlike anything you’d get from a store-bought jar.
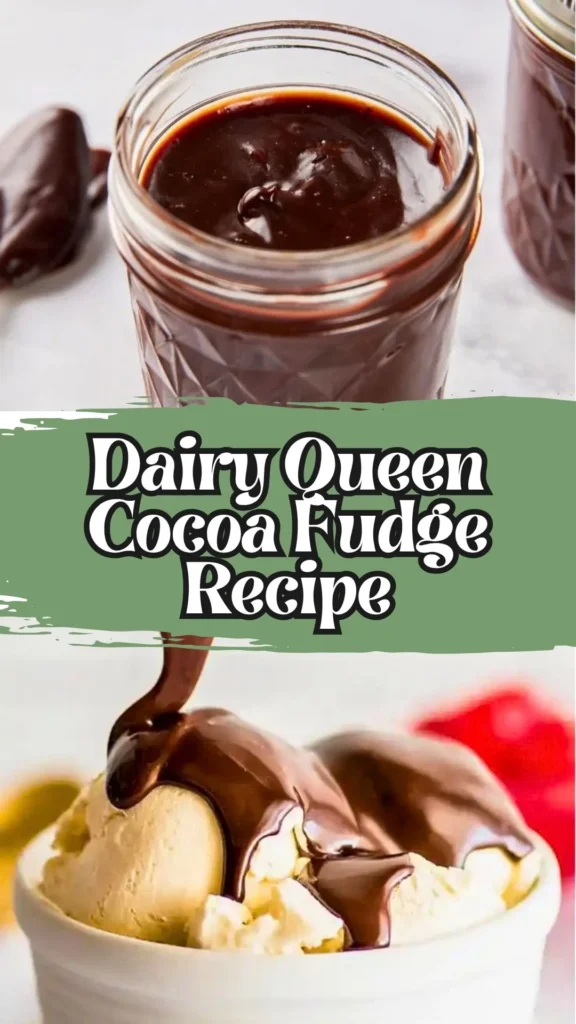
The flavor is intensely chocolatey – deep, rich, and almost bittersweet – exactly what makes the original DQ cocoa fudge so unforgettable. The texture is thick, smooth, and gloriously glossy, never runny or grainy.
That creamy, buttery sweetness from the condensed milk ties everything together beautifully. And the moment this dairy queen cocoa fudge sauce recipe hits cold ice cream, it firms up slightly into that signature fudgy, melt-in-your-mouth finish that DQ fans absolutely live for.
Dairy Queen Cocoa Fudge Ingredients You’ll Need
- 1 can (397 g / 14 oz) sweetened condensed milk
- ½ cup (40–50 g) unsweetened cocoa powder
- ½ cup (113 g) unsalted butter
- ¼–½ cup granulated sugar (optional – adjust to your sweetness preference)
- Pinch of salt
- 1 tsp pure vanilla extract
Kitchen Utensils You’ll Need
- Heavy-bottomed saucepan
- Wooden spoon or heat-safe silicone spatula
- 8×8-inch baking pan
- Parchment paper or non-stick cooking spray
- Measuring cups and spoons
- Sharp knife (for cutting squares)
- Refrigerator-safe container (for storage)
Preparation Time, Cooking Time & Servings
- Prep Time: 5 minutes
- Cook Time: 10 minutes
- Chill Time: 1–2 hours
- Total Time: ~2 hours 15 minutes
- Servings: 16–20 squares (depending on cut size)
How to Make Dairy Queen Cocoa Fudge – Step-by-Step Instructions
1. Prepare the Pan
Line an 8×8-inch pan with parchment paper or lightly grease it.
2. Cook the Mixture
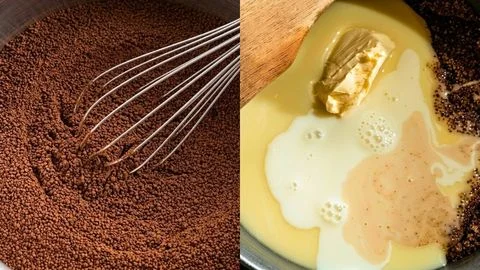
Add condensed milk, butter, cocoa powder, and sugar (if using) to a saucepan. Cook over low–medium heat, stirring continuously until smooth and glossy.
3. Thicken & Set
Continue stirring until the mixture thickens and pulls away from the sides of the pan.

Remove from heat and mix in vanilla and salt, if using. Pour into the prepared pan and spread evenly. Cool, then refrigerate for 1–3 hours until firm.
4. Cut & Serve
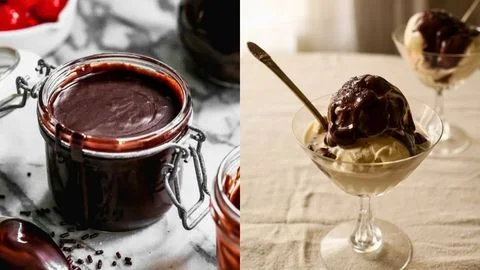
Lift the fudge from the pan and cut into squares using a warm knife. Serve and enjoy!
Customization and Pairing Ideas for Serving
This dairy queen cocoa fudge sauce recipe copycat is incredibly versatile. Once you’ve mastered the base, there are so many delicious ways to make it your own or elevate how you serve it.
1. Add a Sea Salt Topping
Right after pouring the fudge into the pan, sprinkle a light layer of flaky sea salt over the top. The contrast between salty and deeply chocolatey is absolutely divine and gives your fudge a gourmet finish.
2. Swirl in Peanut Butter
Drop a few spoonfuls of creamy peanut butter onto the hot fudge mixture in the pan and gently swirl with a toothpick or knife before it sets. The result is a gorgeous marble effect with a rich, nutty flavor throughout.
3. Mix in Chopped Nuts
Fold in ½ cup of chopped walnuts, pecans, or almonds right before pouring into the pan. Nuts add a satisfying crunch that contrasts beautifully with the fudge’s dense, smooth texture.
4. Serve Warm as an Ice Cream Topping
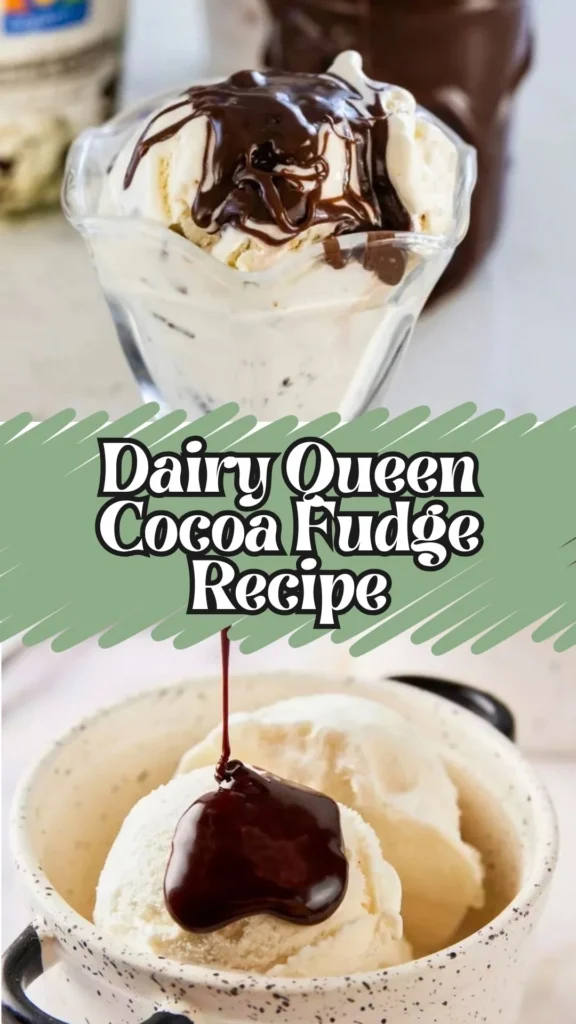
Reheat a small portion gently in the microwave in 10-second bursts until pourable, and drizzle it over vanilla ice cream – just like a real DQ cocoa fudge sundae sauce experience at home.
5. Cocoa Fudge Vanilla Pairing
Serve Dairy Queen Cocoa Fudge with Ninja Slushi Vanilla Milkshake for creamy contrast, balanced sweetness, rich chocolate flavor, and a refreshing cold finish.
6. Layer it into Brownies
Press a thin layer of this fudge over a warm batch of baked brownies before refrigerating. Once set, you’ll have a gorgeous, decadent fudge-topped brownie that’s next-level indulgent.
7. Use Dark Cocoa Powder for a Richer Version
Swap regular unsweetened cocoa powder for Dutch-process or dark cocoa powder to intensify the chocolate flavor. This gives your cocoa fudge dairy queen copycat an even deeper, more bittersweet profile – perfect for serious chocolate lovers.
8. Gift It in a Box
Cut the fudge into uniform squares, place them in mini cupcake liners, and pack them into a decorative gift box. This copycat dairy queen cocoa fudge recipe makes a stunning homemade holiday gift that looks bakery-made but costs very little to produce.
9. Cocoa Fudge Oreo Pairing
Pair Dairy Queen Cocoa Fudge with Ninja Slushi Oreo Milkshake for an indulgent chocolate-cookie combination, creamy texture, intense sweetness, and decadent dessert flavor.
Tips for Perfect Cocoa Fudge Every Time
Getting fudge right comes down to technique and attention. These tips will help you nail this dairy queen cocoa fudge recipe on your very first attempt.
1. Always Use a Heavy-Bottomed Saucepan
A thin pan will cause hot spots and scorch your fudge before it has a chance to cook evenly. A heavy-bottomed saucepan distributes heat consistently, which is essential for achieving that thick, glossy finish without burning.
2. Never Stop Stirring
This is the golden rule of this recipe. The moment you stop stirring, the mixture can stick or scorch on the bottom. Keep your spatula moving in a continuous, sweeping motion from edge to edge throughout the entire cooking time.
3. Watch for the “Pull Away” Sign
The most common question home cooks ask is “when is it done?” The answer: when the mixture thickens noticeably, turns deeply glossy, and starts to pull cleanly away from the sides of the pan. This usually happens between 5 and 10 minutes depending on your heat level.
4. Don’t Crank Up the Heat
It can be tempting to speed things up, but high heat is the enemy of smooth fudge. Low to medium heat gives you control, prevents burning, and ensures a silky, smooth final texture that mirrors the real DQ cocoa fudge experience.
5. Use Room Temperature Butter
Starting with butter that’s already softened slightly will help it melt more evenly and incorporate faster with the other ingredients. Cold butter straight from the fridge can cause the mixture to cook unevenly at the start.
6. Taste and Adjust Sweetness Before Pouring
Before you pour the hot fudge into the pan, taste it. If you skipped the sugar and find it too bitter, you can stir in a tablespoon or two of powdered sugar at this stage – it dissolves cleanly into the hot mixture without affecting the texture.
7. Use a Hot Knife for Clean Cuts
For bakery-quality squares, always run your knife under hot water and dry it before each cut. This prevents the fudge from crumbling or dragging, giving you clean, sharp edges that look as good as they taste.
Storage and Reheating Guidance
Store your DQ cocoa fudge sauce in an airtight jar or container in the refrigerator for up to 2 weeks. To reheat, warm gently in the microwave in 15-second intervals, stirring between each, until smooth, glossy, and perfectly pourable again.
Common Queries & FAQs
Discover answers to the most common Dairy Queen Cocoa Fudge Recipe questions people ask.
Can I make this dairy queen cocoa fudge recipe without condensed milk?
Condensed milk is what gives this fudge its creamy, smooth structure, so it’s not recommended to skip it. However, you can use coconut condensed milk as a dairy-free substitute with very similar results.
Why did my DQ cocoa fudge turn out grainy?
Grainy fudge is almost always caused by heat that’s too high or insufficient stirring. Make sure you cook on low to medium heat and stir constantly to keep the sugar and cocoa fully dissolved throughout.
Is the sugar optional in this cocoa fudge dairy queen recipe?
Yes, the sugar is optional. Sweetened condensed milk already provides significant sweetness. Adding sugar is a personal preference – start without it, taste the mixture mid-cook, and add sugar only if needed.
Can I use salted butter instead of unsalted?
You can, but reduce or eliminate the added pinch of salt to avoid the fudge becoming too salty. Unsalted butter gives you better control over the overall flavor balance.
How do I know when the cocoa fudge sauce is ready?
The mixture is ready when it thickens significantly, develops a deep glossy sheen, and begins pulling away from the sides of the saucepan cleanly. This typically takes 5–10 minutes of continuous stirring over medium-low heat.
Can I double this recipe?
Absolutely. Simply double all the ingredients and use a 9×13-inch pan instead of an 8×8. Note that cooking time may increase slightly – watch for the pull-away sign rather than relying on a fixed time.
Can this be used as a hot fudge topping instead of sliced into squares?
Yes! Simply reheat the set fudge gently in the microwave or a double boiler until it becomes pourable. It works beautifully as a rich cocoa fudge sauce recipe DQ-style drizzle over ice cream, pancakes, or waffles.
Dairy Queen Cocoa Fudge Recipe
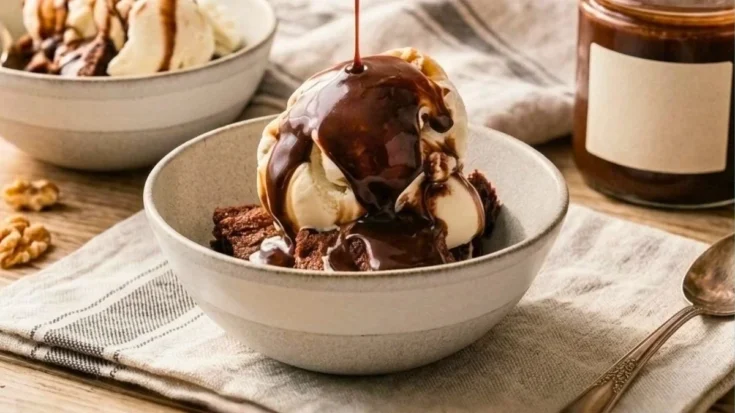
I’ll be honest – the first time I tasted Dairy Queen’s Cocoa Fudge drizzled over a hot fudge sundae, I knew I had to figure out how to make it at home. That rich, glossy, deeply chocolatey fudge sauce with its perfectly smooth texture and just-right sweetness? It stayed on my mind for days. So I got to work. I visited DQ multiple times, studying the flavor, the consistency, how it behaved over cold ice cream, and that signature melt-in-your-mouth finish.
Ingredients
- 1 can (397 g / 14 oz) sweetened condensed milk
- ½ cup (40–50 g) unsweetened cocoa powder
- ½ cup (113 g) unsalted butter
- ¼–½ cup granulated sugar
- Pinch of salt
- 1 tsp pure vanilla extract
Instructions
- Prepare the Pan
Line an 8×8-inch pan with parchment paper or lightly grease it. - Cook the Mixture
Add condensed milk, butter, cocoa powder, and sugar (if using) to a saucepan. Cook over low–medium heat, stirring continuously until smooth and glossy. - Thicken & Set
Continue stirring until the mixture thickens and pulls away from the sides of the pan. Remove from heat and mix in vanilla and salt, if using. Pour into the prepared pan and spread evenly. Cool, then refrigerate for 1–3 hours until firm. - Cut & Serve
Lift the fudge from the pan and cut into squares using a warm knife. Serve and enjoy!
Notes
Store your DQ cocoa fudge sauce in an airtight jar or container in the refrigerator for up to 2 weeks. To reheat, warm gently in the microwave in 15-second intervals, stirring between each, until smooth, glossy, and perfectly pourable again.
Nutrition Information:
Yield:
6Serving Size:
1Amount Per Serving: Calories: 220
This copycat Dairy Queen cocoa fudge recipe proves that the most craveable treats are often the simplest ones. With just six pantry-friendly ingredients and one saucepan, you can recreate the rich, glossy, melt-in-your-mouth DQ cocoa fudge that chocolate lovers can’t get enough of.
Whether you’re slicing it into squares, drizzling it warm over ice cream, or gifting it during the holidays, this recipe delivers every single time. Save this one – it’s going to become a go-to in your kitchen. Happy cooking!
I’d love to hear your thoughts-leave a comment on the blog and let me know How it came out! Don’t forget to follow me on Pinterest, Facebook and YouTube for more delicious updates. Your support truly means everything to me.